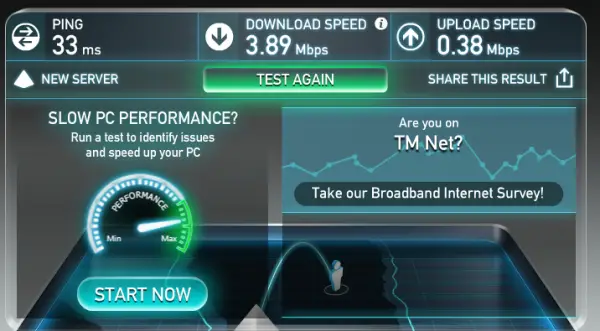
Internet speeds are increasing all over the world. But it is quite possible that your Windows PC may be facing the problem of slow Internet speed. If you face this issue, then it could occur due to misconfiguration in the router, some issue in the operating system or intervention by other installed software. There are various things that a user can do to fix this issue and get faster Internet speeds.

Fix Slow Internet speed on Windows 11/10 PC
You can carry out the following methods to resolve the slow Internet speed and make it faster:
- Configure the bandwidth allocation using the Group Policy Editor.
- Configure the router.
- Reset Windows Auto-Tuning Level.
- Check third party software intervention.
- Update, Rollback, or reinstall drivers.
1] Configure the bandwidth allocation using the Group Policy Editor
Open the Group Policy Editor and navigate to:
Administrative Templates > Network > QoS Packet Scheduler.
Select the policy setting for Limit reservable bandwidth.
The radio button should be set to be Enabled.
For percentage for Bandwidth limit (%) set it to 100%.
Select Apply and then OK.
Reboot your computer, and your internet speeds should be normal.
You should know that the Group Policy Editor is available in Windows 11/10 Pro, Windows 11/10 Enterprise, and Windows 11/10 Education editions only, and not in Windows 11/10 Home. If you are using Windows 11/10 Home edition, you need to add the Local Group Policy Editor to your computer.
2] Configure the router
There might be chances that your internet speed would be limited by your router itself.
Speed limiters are installed in router configuration pages to regulate the Internet speed amongst connected devices.
You can try to disable any such limitations from your router’s control panel and check if that fixes your issue after you reboot your router.
Related: How to increase upload and download speed in Windows.
3] Reset Windows Auto-Tuning Level
Windows Auto-Tuning helps installed programs to receive TCP data over the network. But sometimes, this usage can lead to mainstream internet slowdown on your computer. However, we can interrupt this feature and get our speeds bumped up.
It is dangerous to do because it may hamper the responsiveness and usability of your applications.
Open Windows Command Prompt with Admin level rights and execute the following command:
netsh interface tcp show global
You will now see a list of TCP Global Parameters and their status.
Execute this command to disable Windows Auto-tuning level:
netsh int tcp set global autotuninglevel=disabled
Reboot your computer and see if it has helped.
If it has not helped in any way, you may enable it using this command:
netsh int tcp set global autotuninglevel=normal
Read: Should you disable Window Auto-Tuning or not?
4] Check a third party software intervention
You can check if any software is running in the background and hogging your bandwidth.
You can check if from the Task Manager and if any of them is, you can just stop that download or force close that software using the Task Manager.
Boot in Clean Boot State and see if that improves the Internet speed.
5] Update, Rollback or reinstall your drivers

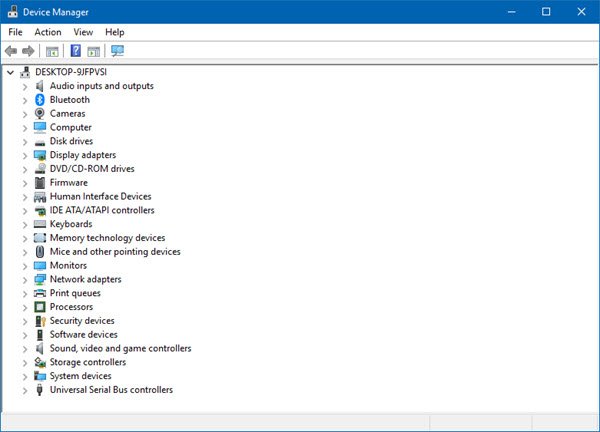
The drivers listed under the section of Network Adapters inside of the Device Manager might be a cause for this particular issue. You can try to reinstall the network drivers for your motherboard. If you recently updated these drivers, roll back these drivers, and check. If you did not, then we suggest you Update these drivers.
Hope something here helps you increase your Internet speed.
Related read: Increase WiFi Speed and Signal strength and coverage area.